After our first dog passed away almost two years ago, we swore we would never have a pet of any kind (read a little more about it here). Of course, that all changed when we adopted Jasmine, a Labrador Retriever, just over a year ago. And now, we’ve added another furry family member…
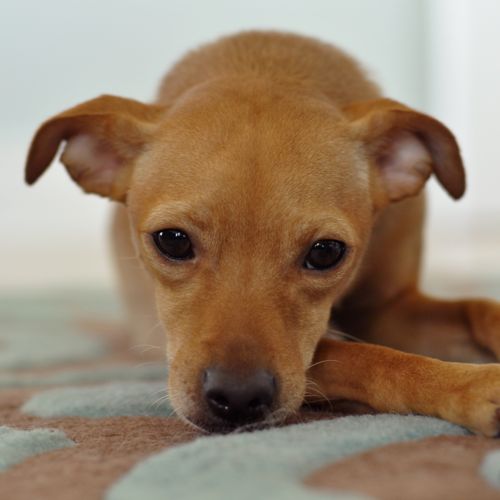
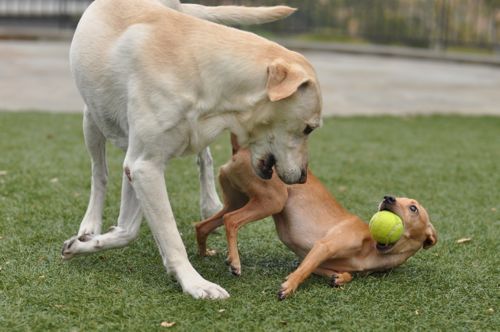
Meet Scooter, a little guy who weighs just over 12 pounds and is lightning fast on his feet. He looks like a pup, but he is actually about 2 years old. Even though Jasmine is almost five times Scooter’s size and weight, she is super gentle with him as they wrestle with each other; sometimes his whole head ends up in her jaws. They have become fast friends, though, and it’s a joy to watch them play with one another.
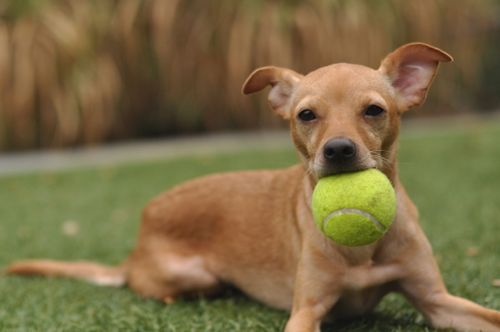
Scooter was abandoned in a foreclosed home in the San Francisco Bay Area in the fall of 2012. Naturally, we didn’t think too much about his pedigree; we assumed he was some type of Chihuahua mix mutt. After doing some research, though, it turns out that he is likely a “designer dog” known as an Italian Greyhuahua – a cross between an Italian Greyhound and a Chihuahua! He looks exactly like the smoky grey dog on the facebook page for fans of this hybrid.
Regardless of Scooter’s pedigree, our family loves him just the same. Hopefully he and Jasmine will enjoy many years together.